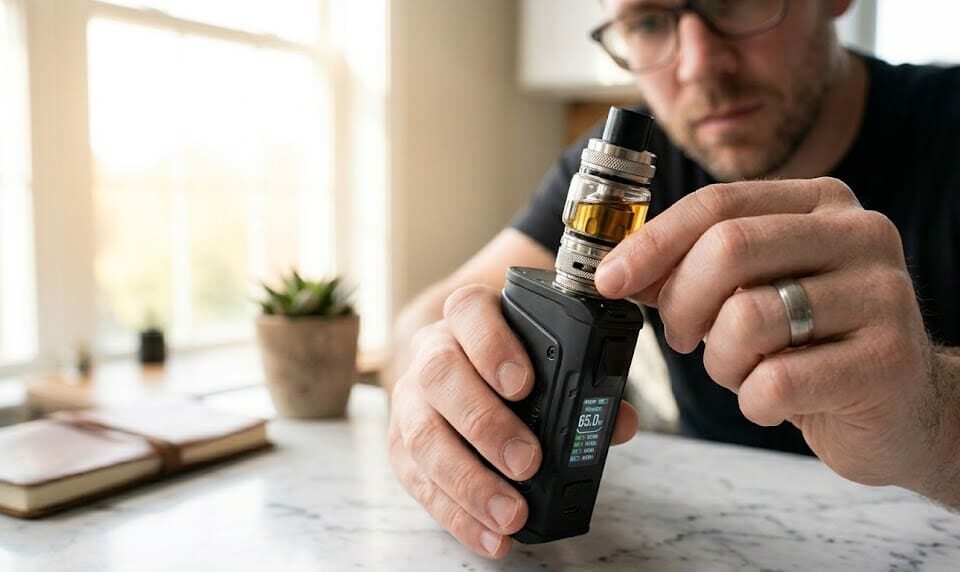
Many vapers assume they should fully drain the tank before swapping a coil. In practice, most modern bottom-coil tanks handle this without emptying first; the difference is knowing how your specific tank is built and positioning it correctly during the process.
Tank design and coil placement determine whether the swap goes cleanly or turns into a mess on the counter.
This vape coil replacement guide covers how to change a vape coil with juice in it safely, including what to watch out for and when draining is actually the smarter call.
Can You Change a Vape Coil With Juice in It?
Yes. In most modern tanks, absolutely. The answer depends almost entirely on how your tank is designed.
Most tanks use a bottom-coil configuration, where the coil threads into the base. In these setups, inverting the tank keeps the e-liquid away from the coil opening while you work. Proper positioning throughout the swap is what prevents spills, not emptying the tank.
Some tanks, however, place the coil in the chimney or use a design where the coil doubles as the main air path. In those cases, pulling the coil while the tank is full lets e-liquid run out freely; there’s no way around it. If you’re unsure which type you have, look at where the coil sits relative to the central tube running from the base to the mouthpiece.
Pod systems with built-in coils are a different situation. Since the coil and the pod body are often integrated, the e-liquid typically drains when the coil is removed. For those, emptying the pod before swapping is standard practice, not optional.
Signs It’s Time to Replace Your Vape Coil
A vape coil typically shows clear signs when it reaches the end of its lifespan. The signals of when to replace a vape coil are difficult to miss once you know what you’re looking for:
A burnt or harsh taste on the inhale is the clearest one: the cotton wick is degraded and no amount of extra priming will fix it at that point.
Reduced vapor production follows the same pattern: the coil can no longer heat the e-liquid efficiently, so output drops noticeably even at normal wattage settings.
Muted or flat flavor that used to be sharp is another reliable indicator: with fresh juice in the tank, something is still clearly off.
Gurgling sounds or leaking from the airflow ports often mean a flooded or broken coil that is no longer wicking correctly.
Coils wear out because the heating element runs through repeated high-heat cycles. Over time, the cotton scorches, the metal degrades, and residue builds up on the coil wire, particularly with sweetened e-liquids, which leave a caramel-like buildup that accelerates the whole process significantly.
Noticing these signs raises another important point: how long does a vape coil last? The lifespan of a coil depends on factors like the type of device, the e-liquid used, and how frequently you vape.
What You Need Before Changing a Vape Coil
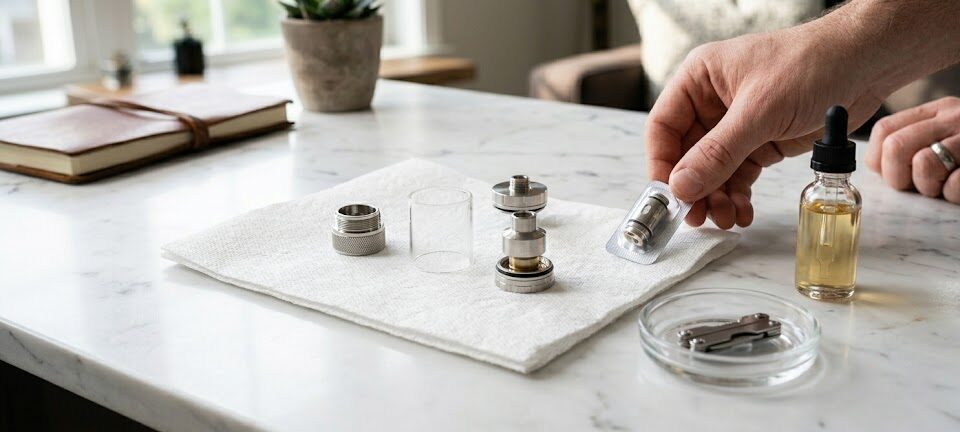
Preparing before opening the tank prevents the scramble that happens when you have wet hands and no clean surface to set things on.
You will need a replacement coil rated specifically for your tank model. Using a coil from a different product line, even from the same manufacturer, often means the wrong thread pattern or resistance rating, neither of which is obvious until assembly fails.
A paper towel or clean cloth matters more than most people expect; there is almost always some e-liquid on the threads or the base when you disassemble, and wiping as you go keeps the process cleaner. A flat, well-lit surface helps, particularly with smaller tank hardware where things roll away quickly.
A small dish or shot glass is worth having nearby if you want to collect any e-liquid that escapes during the swap rather than losing it. Understanding the basics of your device goes a long way, too. If you’re new to device maintenance, reviewing somefacts about vaping first can help you make sense of what each component is doing before you start pulling things apart.
How to Change a Vape Coil With Juice in It (Step-by-Step)
The following vape tank coil change process applies to most bottom-coil tanks. If your device uses a different configuration, consult the manual before starting. The sequence matters, and skipping steps is where leaks happen.
Remove the Tank From the Device
Detach the tank from the battery or mod by unscrewing the 510 connection at the base. Do this slowly and hold the tank upright the entire time. Setting the mod aside gives you a clean, stable surface to work from without the extra weight and bulk.
Turn the Tank Upside Down
Invert the tank completely so the mouthpiece faces down. This is the step most people skip and eventually end up with juice running down their hands. With the tank inverted, gravity pulls the e-liquid toward the mouthpiece end and away from the coil base where you are about to work.
Remove the Tank Base
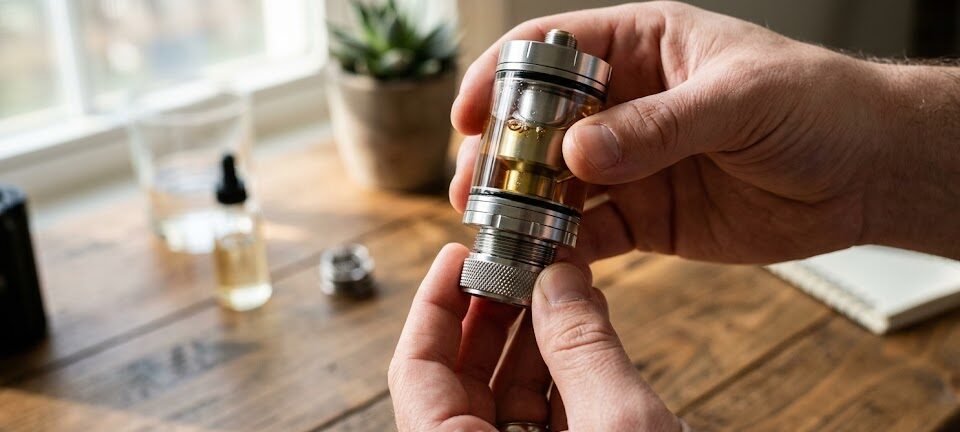
Unscrew the metal base of the tank, now facing upward since the tank is inverted. Turn it counterclockwise. Go slowly; if there is juice around the threads, a rushed removal sends it across the workspace.
Remove the Old Coil
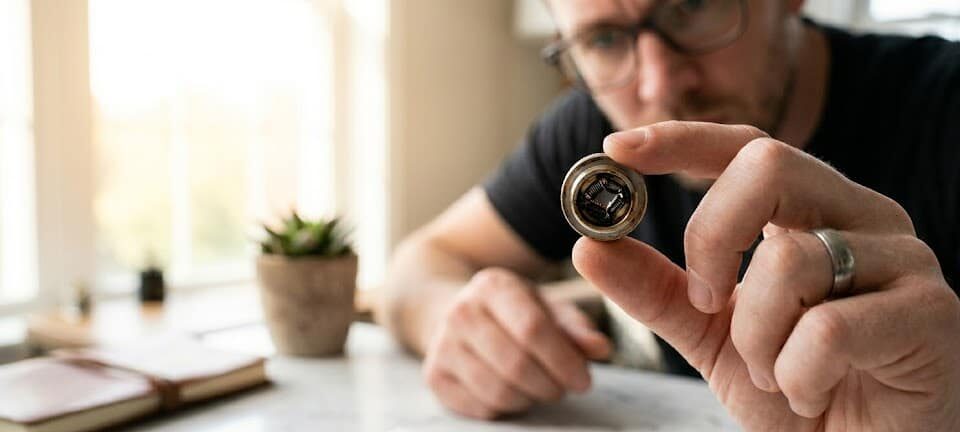
Coils either unscrew or pull straight out, depending on the tank design. For threaded coils, turn counterclockwise until the coil releases. For push-fit coils, grip the base and pull straight up with steady pressure. Have your paper towel ready; the old coil will have e-liquid on it, and so will the threading.
Prime the New Coil
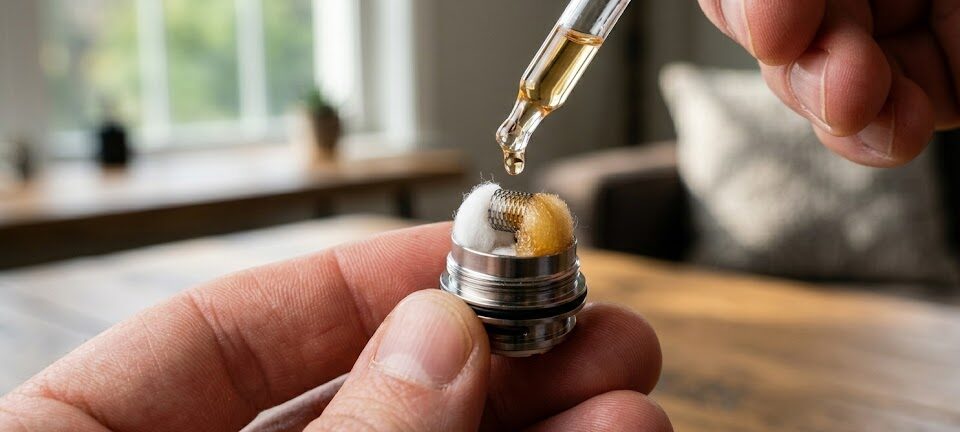
Before installing the new coil, prime it. Apply 3–5 drops of e-liquid directly to each exposed cotton port on the sides of the coil body. Then, add 2–3 drops through the center opening at the top. The cotton should look visibly saturated before the coil goes anywhere near the tank.
Skipping this step is the single most common reason a new coil tastes burnt on the first use; dry cotton scorches in seconds at vaping temperatures, and once burned, it does not recover.
Install the New Coil
Thread the new coil in by hand first, aligning it carefully before applying any torque. Finger-tight is enough. Overtightening crushes the O-ring and causes leaks, and it makes the next coil replacement unnecessarily difficult. For push-fit designs, press straight down until the coil seats firmly.
Reassemble and Let the Coil Soak
Reattach the tank base, flip the tank upright, and screw it back onto the device. Then wait. Five minutes is the minimum; 10 is better. The primed cotton needs time to fully absorb the surrounding e-liquid before heat is applied.
Vaping immediately after installation produces a dry hit that burns the wick on its first use, meaning the coil is already degraded before you’ve taken a real pull from it.
When You Should Empty the Tank First
Not every tank handles a mid-juice coil change cleanly, and trying to force it risks a spill or a wasted coil.
Top-coil tanks, less common today but still in circulation, place the coil near the mouthpiece at the top of the tank. The chimney in these designs runs the full height of the chamber, meaning e-liquid pours out through the base when the coil is removed. Emptying the tank before swapping is much simpler than trying to manage the drain.
Tanks filled to the absolute maximum capacity also benefit from a partial drain before the swap. With nowhere for the e-liquid to shift during disassembly, overflow is almost certain when the base is removed. Vaping the tank down to roughly half-full first takes only a few minutes and prevents the mess entirely.
Certain pod systems, particularly those where the coil is physically integrated into the pod body, should always be emptied before the coil or pod is replaced. There is no inversion technique that protects the e-liquid when the coil and the pod chamber share the same opening.
Common Mistakes When Replacing a Vape Coil
Most coil replacements that go wrong follow a familiar pattern:
Forgetting to prime the new coil tops the list. It is easy to skip in the moment: the coil looks ready, the tank is assembled, and the instinct is to just vape. That first dry hit damages the wick permanently before the coil ever has a fair chance.
Overtightening is a close second; the thread seal on a vape tank is designed to be finger-tight, not cranked down. A cracked O-ring from overtightening produces leaks that seem to appear randomly well after the swap.
Vaping immediately after installation is the same mistake from a different angle; impatience is the enemy of a new coil.
Installing the wrong coil for the device falls into a similar category: wrong thread type, wrong resistance rating, wrong coil series for the tank. That can cause connection failures or, in worse cases, device errors that stress the mod’s output circuitry in ways that are difficult to diagnose later.
How to Make Your Vape Coil Last Longer
A properly maintained coil lasts noticeably longer than one that isn’t. The difference is usually a week or more on the same device and usage pattern.
Always prime new coils before first use. It takes two minutes and prevents the most common form of premature coil failure. Staying within the recommended wattage range for your specific coil matters for the same reason: running above the rated range pushes the coil to temperatures the cotton was not designed to sustain consistently.
Chain vaping keeps the coil at an elevated temperature continuously and prevents the wick from re-saturating between draws. Taking a few seconds between puffs extends coil life more than most people expect. The e-liquid plays a role too. Heavily sweetened juices, particularly those using sucralose as a sweetener, leave residue on the coil wire that builds up quickly and creates a burnt taste well before the coil’s natural lifespan is up.
For e-liquid that works with your coils rather than against them, sourcing from a qualityvape shop matters. Pink Spot Vapors mixes handcrafted gourmet e-liquids in a food-grade facility using pharma-grade nicotine and 100% kosher PG/VG: flavors built around quality ingredients rather than heavy sweeteners that accelerate coil wear.
Final Thoughts
Knowing how to change a vape coil with juice in it is a practical skill that saves time, cuts down on waste, and keeps the device running without unnecessary interruption. Most modern bottom-coil tanks handle this process cleanly when the tank is inverted correctly, the new coil is primed thoroughly, and the soak time is respected. When the tank design or fill level makes a mid-juice swap impractical, draining first is always the right call; it takes a few minutes and prevents the mess.
Subscribe now to keep reading and get access to the full archive.
"*" indicates required fields
Table of Contents
About the Author
Shelby Bockman
Shelby is a vape industry professional with more than seven years of experience in the vaping community and currently serves as a manager at Pink Spot Vapors, a well-known Las Vegas vape shop. With extensive knowledge of vaping devices, premium e-liquid, nicotine strengths, and flavor profiles, Shelby helps customers find the perfect vape setup to match their preferences and lifestyle.
Her expertise includes guiding both beginners and experienced vapers through the wide range of vape devices, helping them understand nicotine levels, and introducing them to unique e-liquid flavor profiles. Shelby is passionate about helping customers discover high-quality vape products while promoting responsible vaping and a personalized customer experience.
At Pink Spot Vapors in Las Vegas, Shelby also creates content that highlights the craftsmanship behind premium e-liquid, innovative flavor blends, and the creativity within the vape community. Her hands-on experience and passion for vaping help customers explore new flavors, find the right devices, and enjoy a better vape experience.
About the Author
Shelby Bockman
Shelby is a vape industry professional with more than seven years of experience in the vaping community and currently serves as a manager at Pink Spot Vapors, a well-known Las Vegas vape shop. With extensive knowledge of vaping devices, premium e-liquid, nicotine strengths, and flavor profiles, Shelby helps customers find the perfect vape setup to match their preferences and lifestyle.
Her expertise includes guiding both beginners and experienced vapers through the wide range of vape devices, helping them understand nicotine levels, and introducing them to unique e-liquid flavor profiles. Shelby is passionate about helping customers discover high-quality vape products while promoting responsible vaping and a personalized customer experience.
At Pink Spot Vapors in Las Vegas, Shelby also creates content that highlights the craftsmanship behind premium e-liquid, innovative flavor blends, and the creativity within the vape community. Her hands-on experience and passion for vaping help customers explore new flavors, find the right devices, and enjoy a better vape experience.